In my detailed article about setting up Hyper-V using the Quick Create feature to establish a comprehensive Lab Environment with Windows 11, specifically designed for PowerShell and Visual Studio Code labs, all of the setup procedures and configurations rely heavily on the fact that you are running Windows 11 Pro or Enterprise editions on your system.
However, if you are working from your personal home computer and it runs the Windows 11 Home edition, and you still want to perform similar labs, an alternative solution is available. You can install VirtualBox, which is a free and open-source virtualization software that supports installation on almost every major Operating System currently available, providing a flexible and accessible option for lab setups outside the Windows 11 Pro or Enterprise environment.
This method requires a bit more time to set up, especially if you are not using the Quick Setup option that comes with a pre-configured Windows 11 installation. However, it is not overly complicated, and I will carefully guide you through every single step in detail here to ensure you can follow along without any difficulties.
VirtualBox requires your computer to support virtualization technology, which is available on almost all modern computers. If it is not enabled by default, you may need to activate it in your BIOS settings.
You also need free space on a hard drive for the installation of VirtualBox and then for the installation of Windows 11.
In this guide I will show you how to Install VirtualBox and in my next guide I will show you how to setup an evaluation version of Windows 11 as an Lab Environment.
All the code and information provided on this website are offered “as is” without any guarantees or warranties of any kind. Although the code and information are tested, we do not warrant that the code is error-free or that it will meet your specific requirements. Use the code at your own risk. We disclaim all liability for any damages or losses arising from the use or inability to use the provided materials.
If you are using Windows, you can begin by checking your operating system. Open PowerShell as an Administrator and enter the following command:
(Get-CimInstance Win32_OperatingSystem).CaptionYou can also install VirtualBox on Windows 11 Pro and Enterprise editions if you wish.
Supported Operating Systems include:
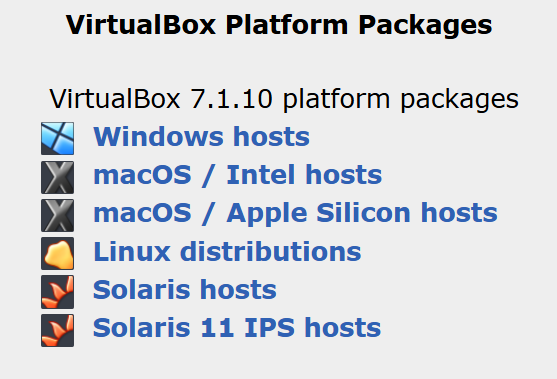
You can find VirtualBox here.
Visit the download page and select the version that matches your computer and download it.
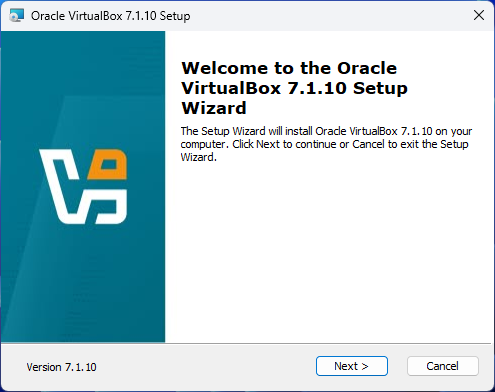
I will show you the Windows installation.
Begin the installation process
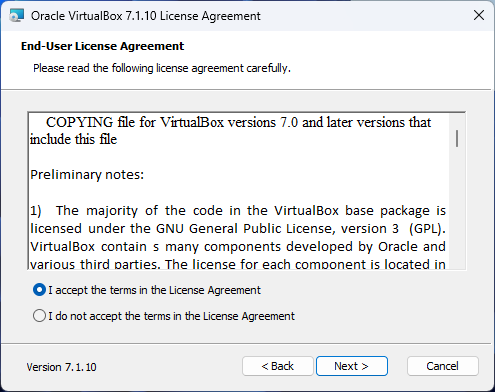
Simply select I accept… and press Next
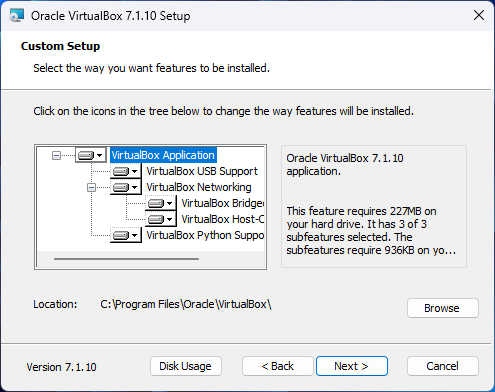
Just click Next
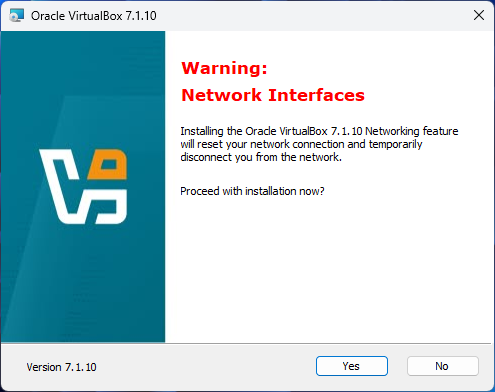
Make sure you are not running any tasks that could be interrupted when VirtualBox updates the network settings. Then, click Yes to proceed.
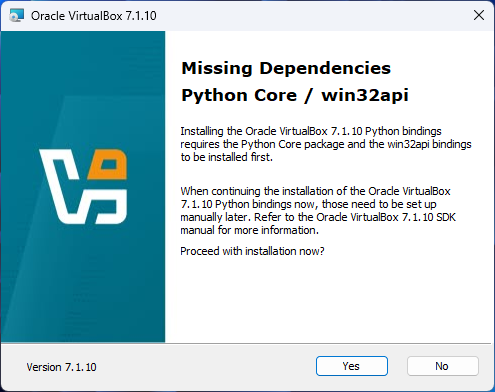
VirtualBox relies on Python Core and win32api bindings. If these are not already installed, you will need to click Yes to proceed with the installation.
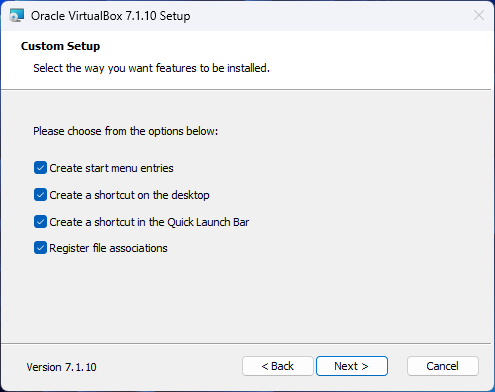
If you agree to create shortcuts on the Start Menu, Desktop, and Quick Launch Bar, simply click Next to continue.
Just click Install if you want to start the installation.
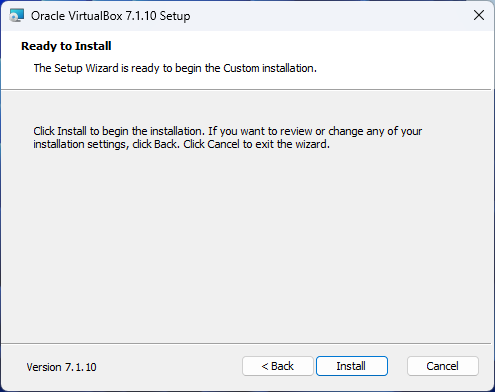
The installation will be quick.
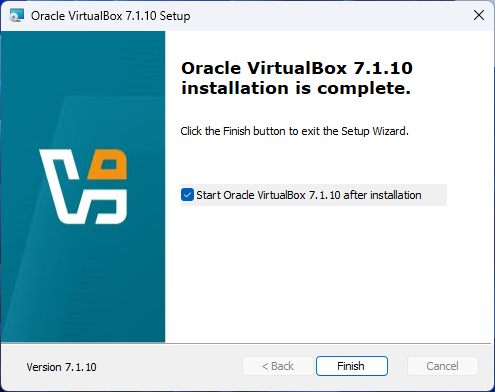
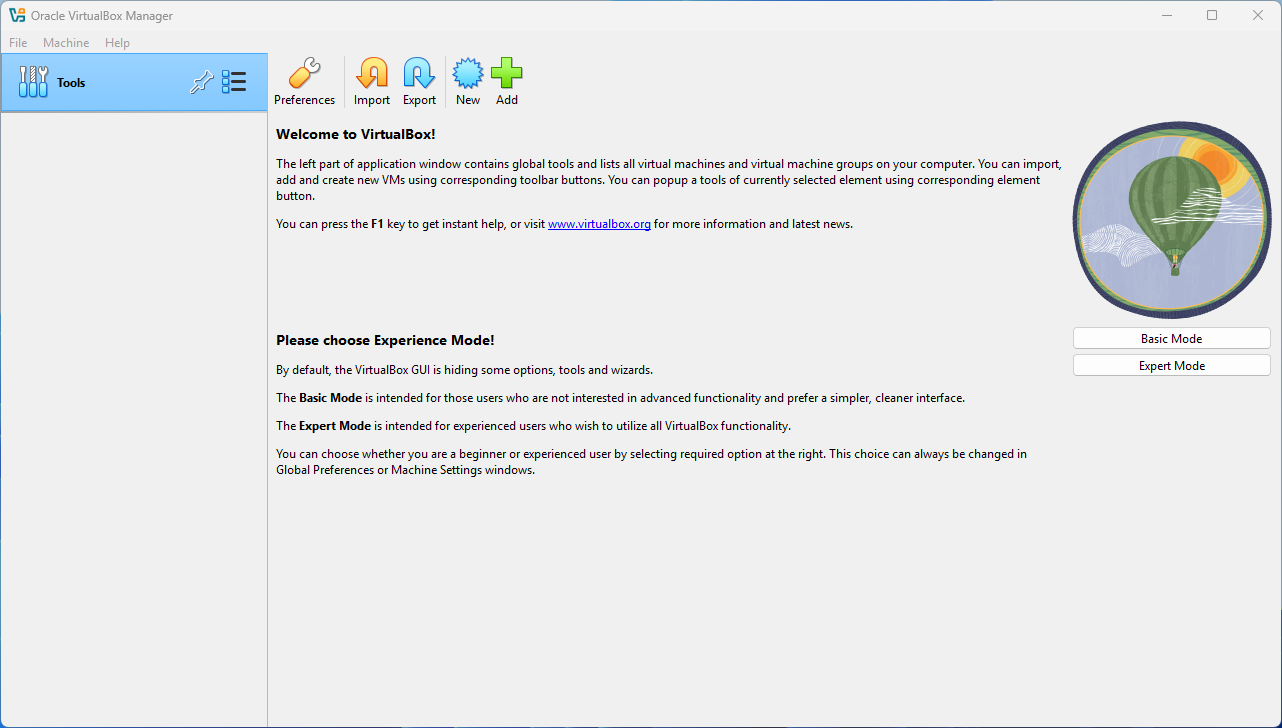
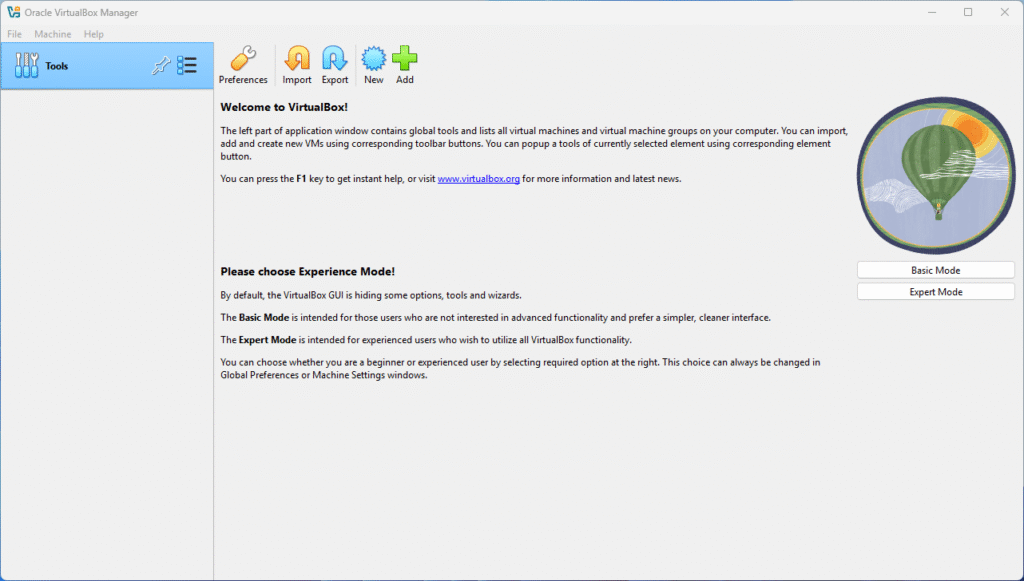
When you press the Finish button, VirtualBox will launch and start running for the very first time on your system.
I believe this installation process was not significantly more difficult than simply enabling Hyper-V on your system.
In my upcoming guide, I will walk you through the detailed steps on how to download and install a fully functional evaluation version of Windows 11, providing all the necessary instructions to get you started.
Leave a Reply