-

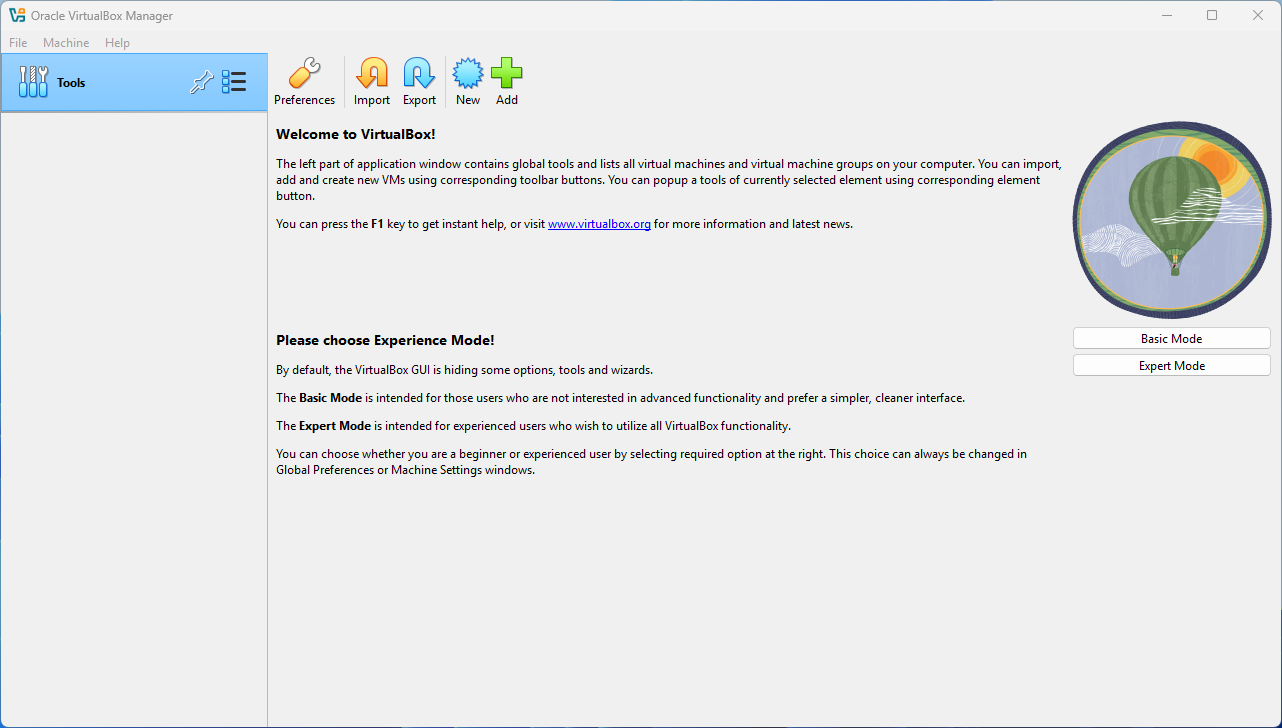
In my previous guide, I demonstrated the detailed process of how to download and install VirtualBox on your computer. In this guide, I will walk you through the steps needed to set up a Windows 11 Lab Machine within VirtualBox. Although setting up a Windows 11 virtual machine in VirtualBox requires a few more steps…
-
In my detailed article about setting up Hyper-V using the Quick Create feature to establish a comprehensive Lab Environment with Windows 11, specifically designed for PowerShell and Visual Studio Code labs, all of the setup procedures and configurations rely heavily on the fact that you are running Windows 11 Pro or Enterprise editions on your…
-
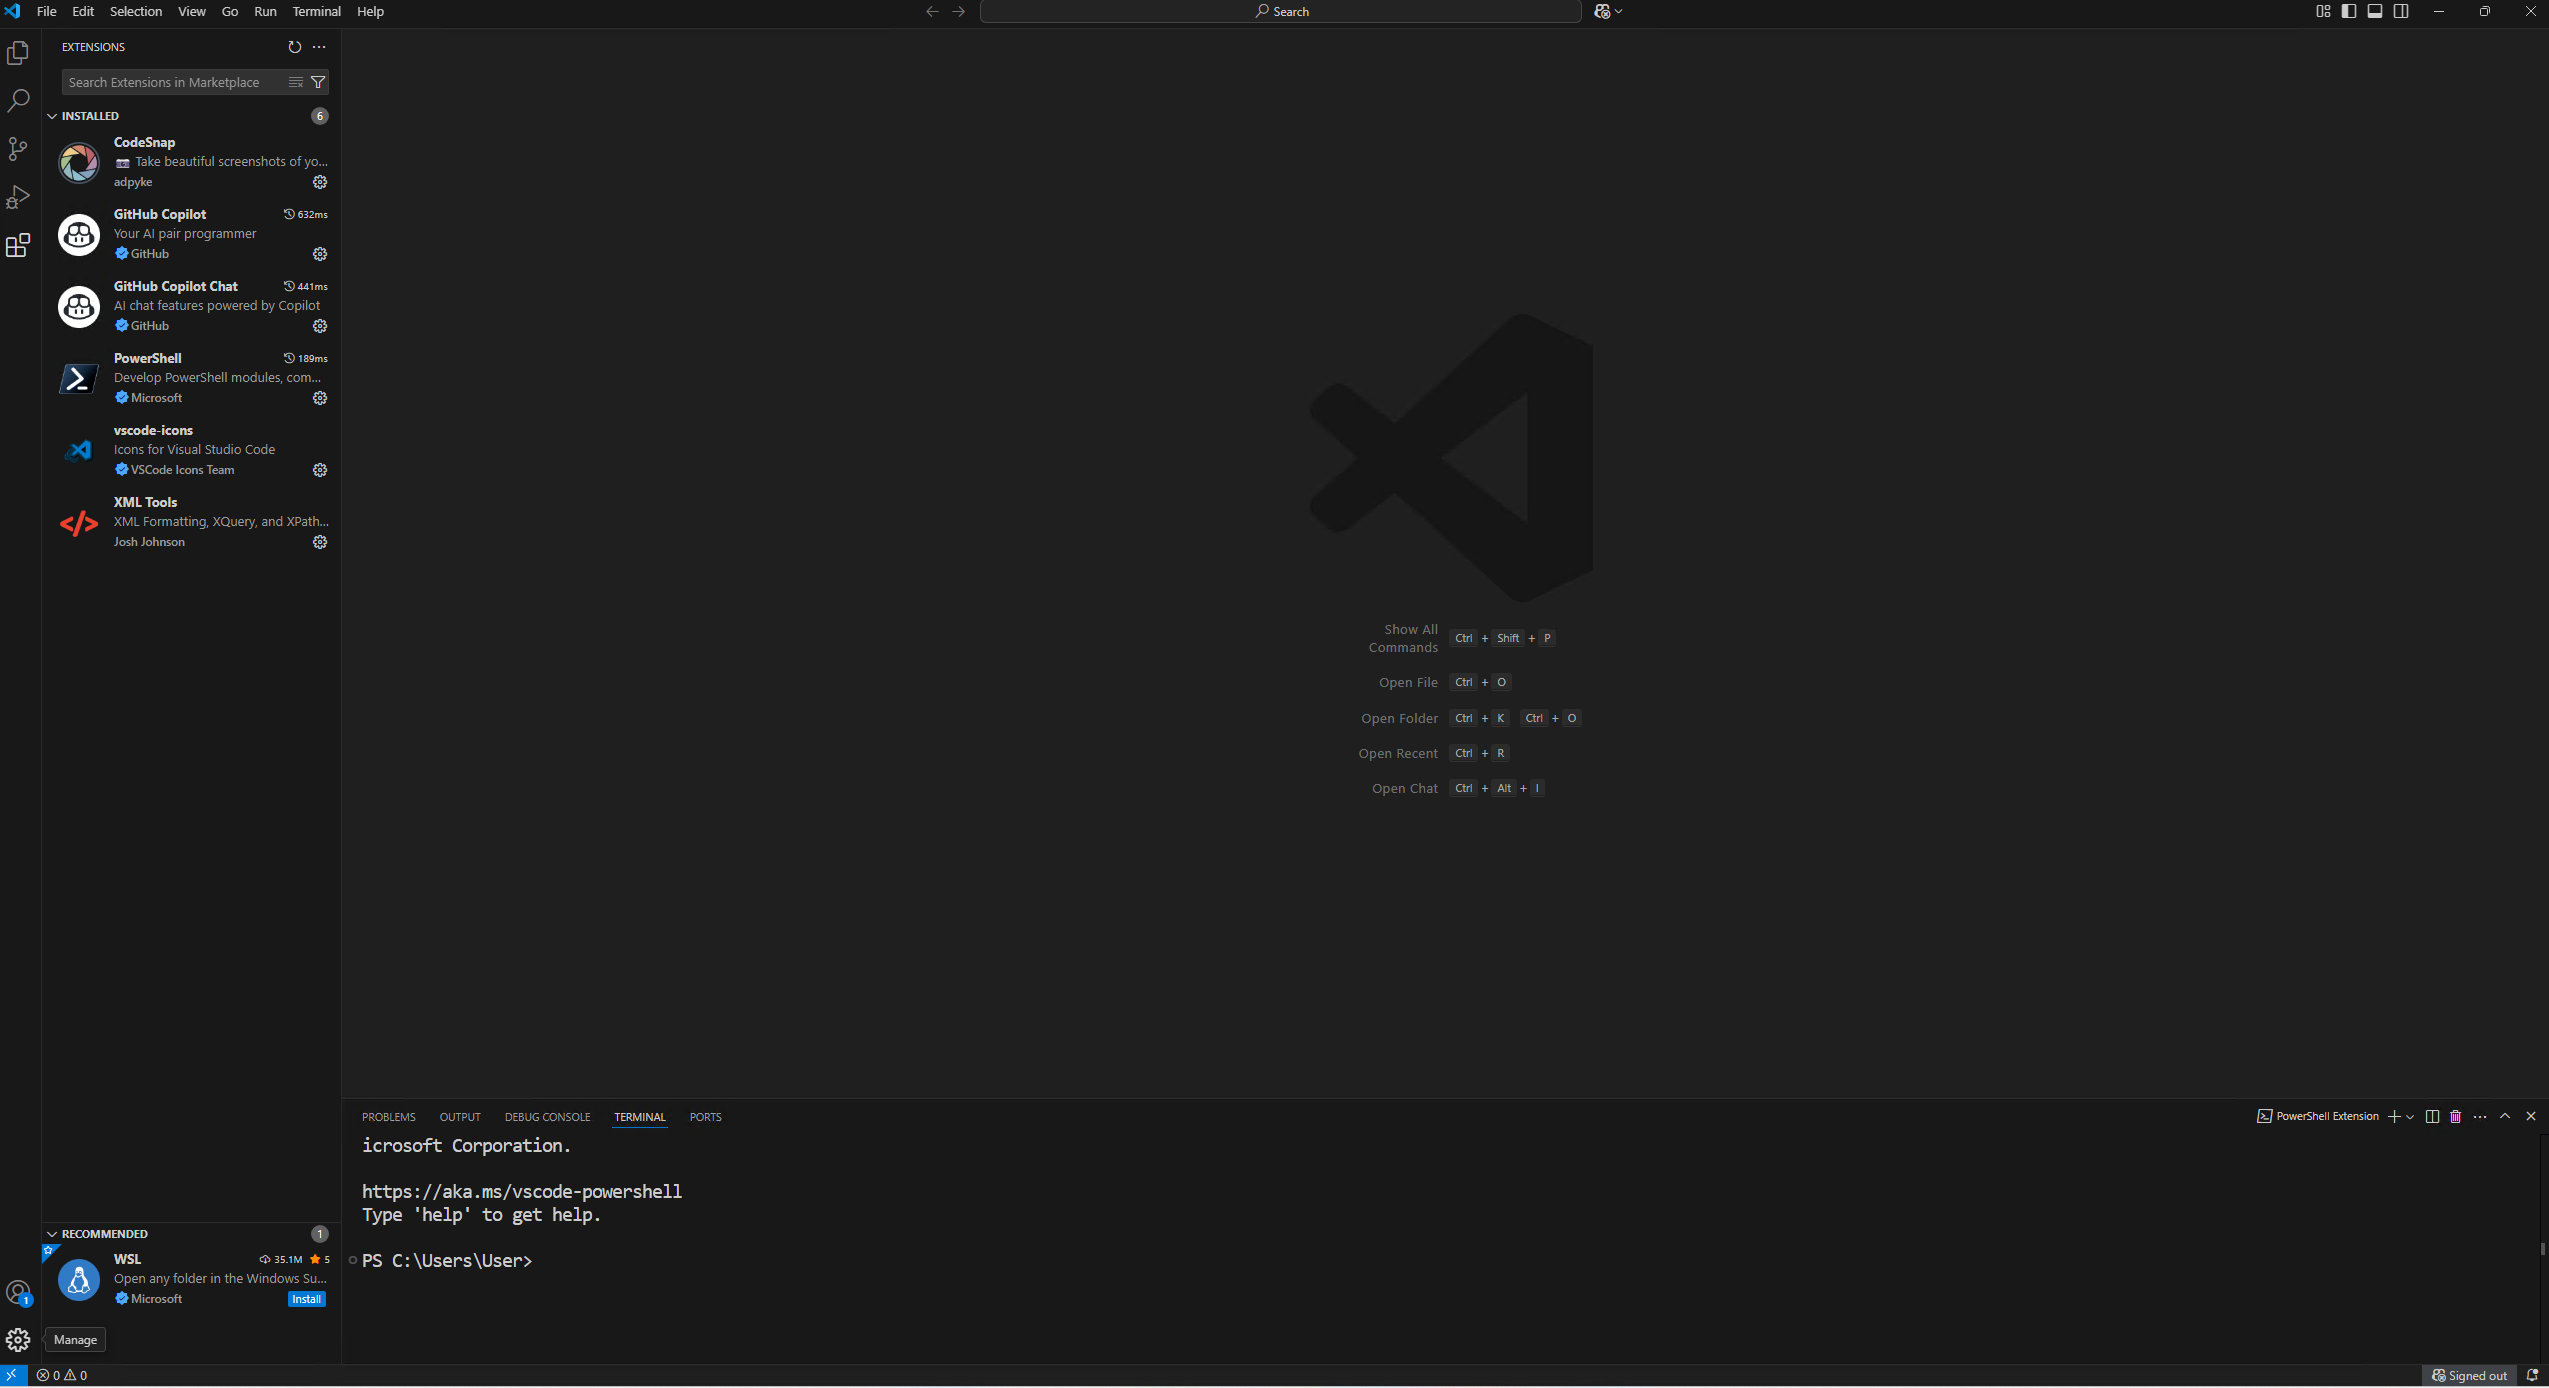
In a previous blog post, I demonstrated how to configure Visual Studio Code by installing the necessary extensions and adjusting the settings specifically for PowerShell development. If you happen to use Visual Studio Code across multiple computers, different work environments, or various lab machines, it can quickly become a tedious and time-consuming task to set…
-

In my guide Create a Lab Machine, I walk you through the complete process of setting up a virtual Lab Machine running Windows 11 within Hyper-V using the Quick Create feature. This includes configuring the language settings properly to suit your preferences, installing the latest version of PowerShell 7 for enhanced scripting testing, and setting…
-
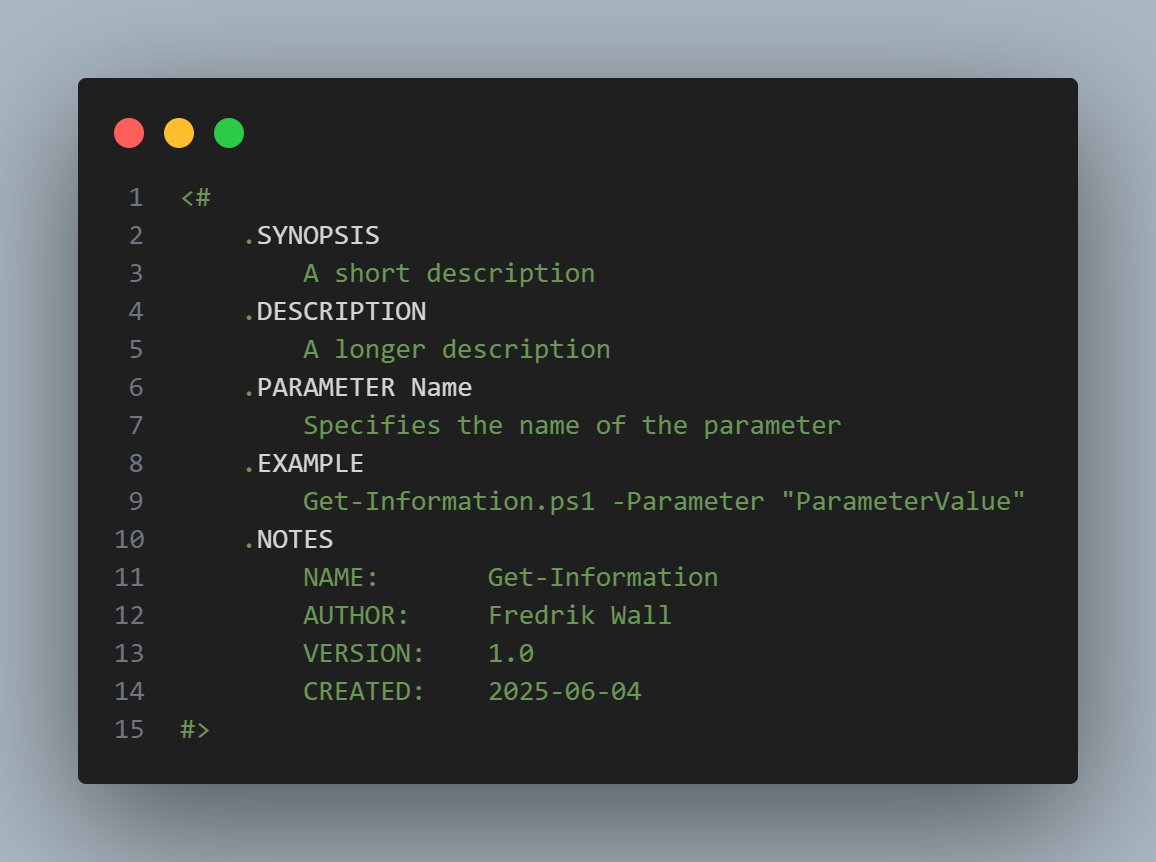
This is my first User Snippet posted for Visual Studio Code.I know there is a default snippet included with the PowerShell extension. All the code and information provided on this website are offered “as is” without any guarantees or warranties of any kind. Although the code and information are tested, we do not warrant that…
-

A step-by-step guide to quickly and easily create a Hyper-V lab machine for PowerShell and Visual Studio Code development
-

Welcome to Poweradmin.se, your go-to destination for everything related to Windows Client management and scripting. This website has been inactive and quiet for several years, but I am excited to announce that I will be starting to blog here once again.Moving forward, I plan to share valuable insights, tutorials, and tips regularly. This time around,…